Hiking a 14er can be an exhilarating experience, but it’s not without its challenges. One of the biggest obstacles for hikers who live at or near sea level (we’re lovingly known as flatlanders) is the altitude. Training for a 14er can be difficult, especially if you don’t have access to high-altitude environments to prepare your heart and lungs. But fear not! It’s possible to train for a 14er at sea level with some planning, commitment, and discipline. I’ve done 14ers both very poorly and very well-prepared, and I definitely recommend going prepared!

In this blog post, I’ll share what I’ve learned as a flatlander over the last several years of training for over a dozen class one and two 14ers at sea level, including ways to improve cardiovascular endurance and build leg strength. My husband, a high altitude hiker and elk hunter who’s been a personal trainer and gym owner for over a dozen years, has reviewed this and also trains similarly for his Colorado elk hunts. We’ll also discuss the importance of proper hydration and nutrition, as well as how to acclimate to higher altitudes. So whether you’re a seasoned hiker or new to the game, read on to learn how you can prepare yourself for the challenge of hiking a 14er. It’s one of my favorite ways to experience the great outdoors, and I am thrilled for anyone who gets to experience it too!
Why Train for High Altitude?
If you’ve never spent time at high altitudes, it can be a very shocking experience. It’s one thing to walk, run, or hike with fully saturated oxygen levels, but it’s a whole other ballgame as you spend time and energy at higher elevations where the air pressure is lower so oxygen feels thinner. While many people react differently to changes in altitude, it’s important to understand a bit of the science behind what’s happening, so you can prepare and adjust accordingly.
If you live at or near sea level, your lungs and heart are used to oxygenating your body with air that is 20% oxygen. As you get higher in elevation, that oxygen level begins to lower, so by 5,000 feet, the air is only around 17% oxygen. So, when you arrive in Denver after living at sea level, you’re breathing 15% less oxygen with each breath than you were at home. This means your heart will work harder (faster) to deliver the same amount of oxygen your body was used to.
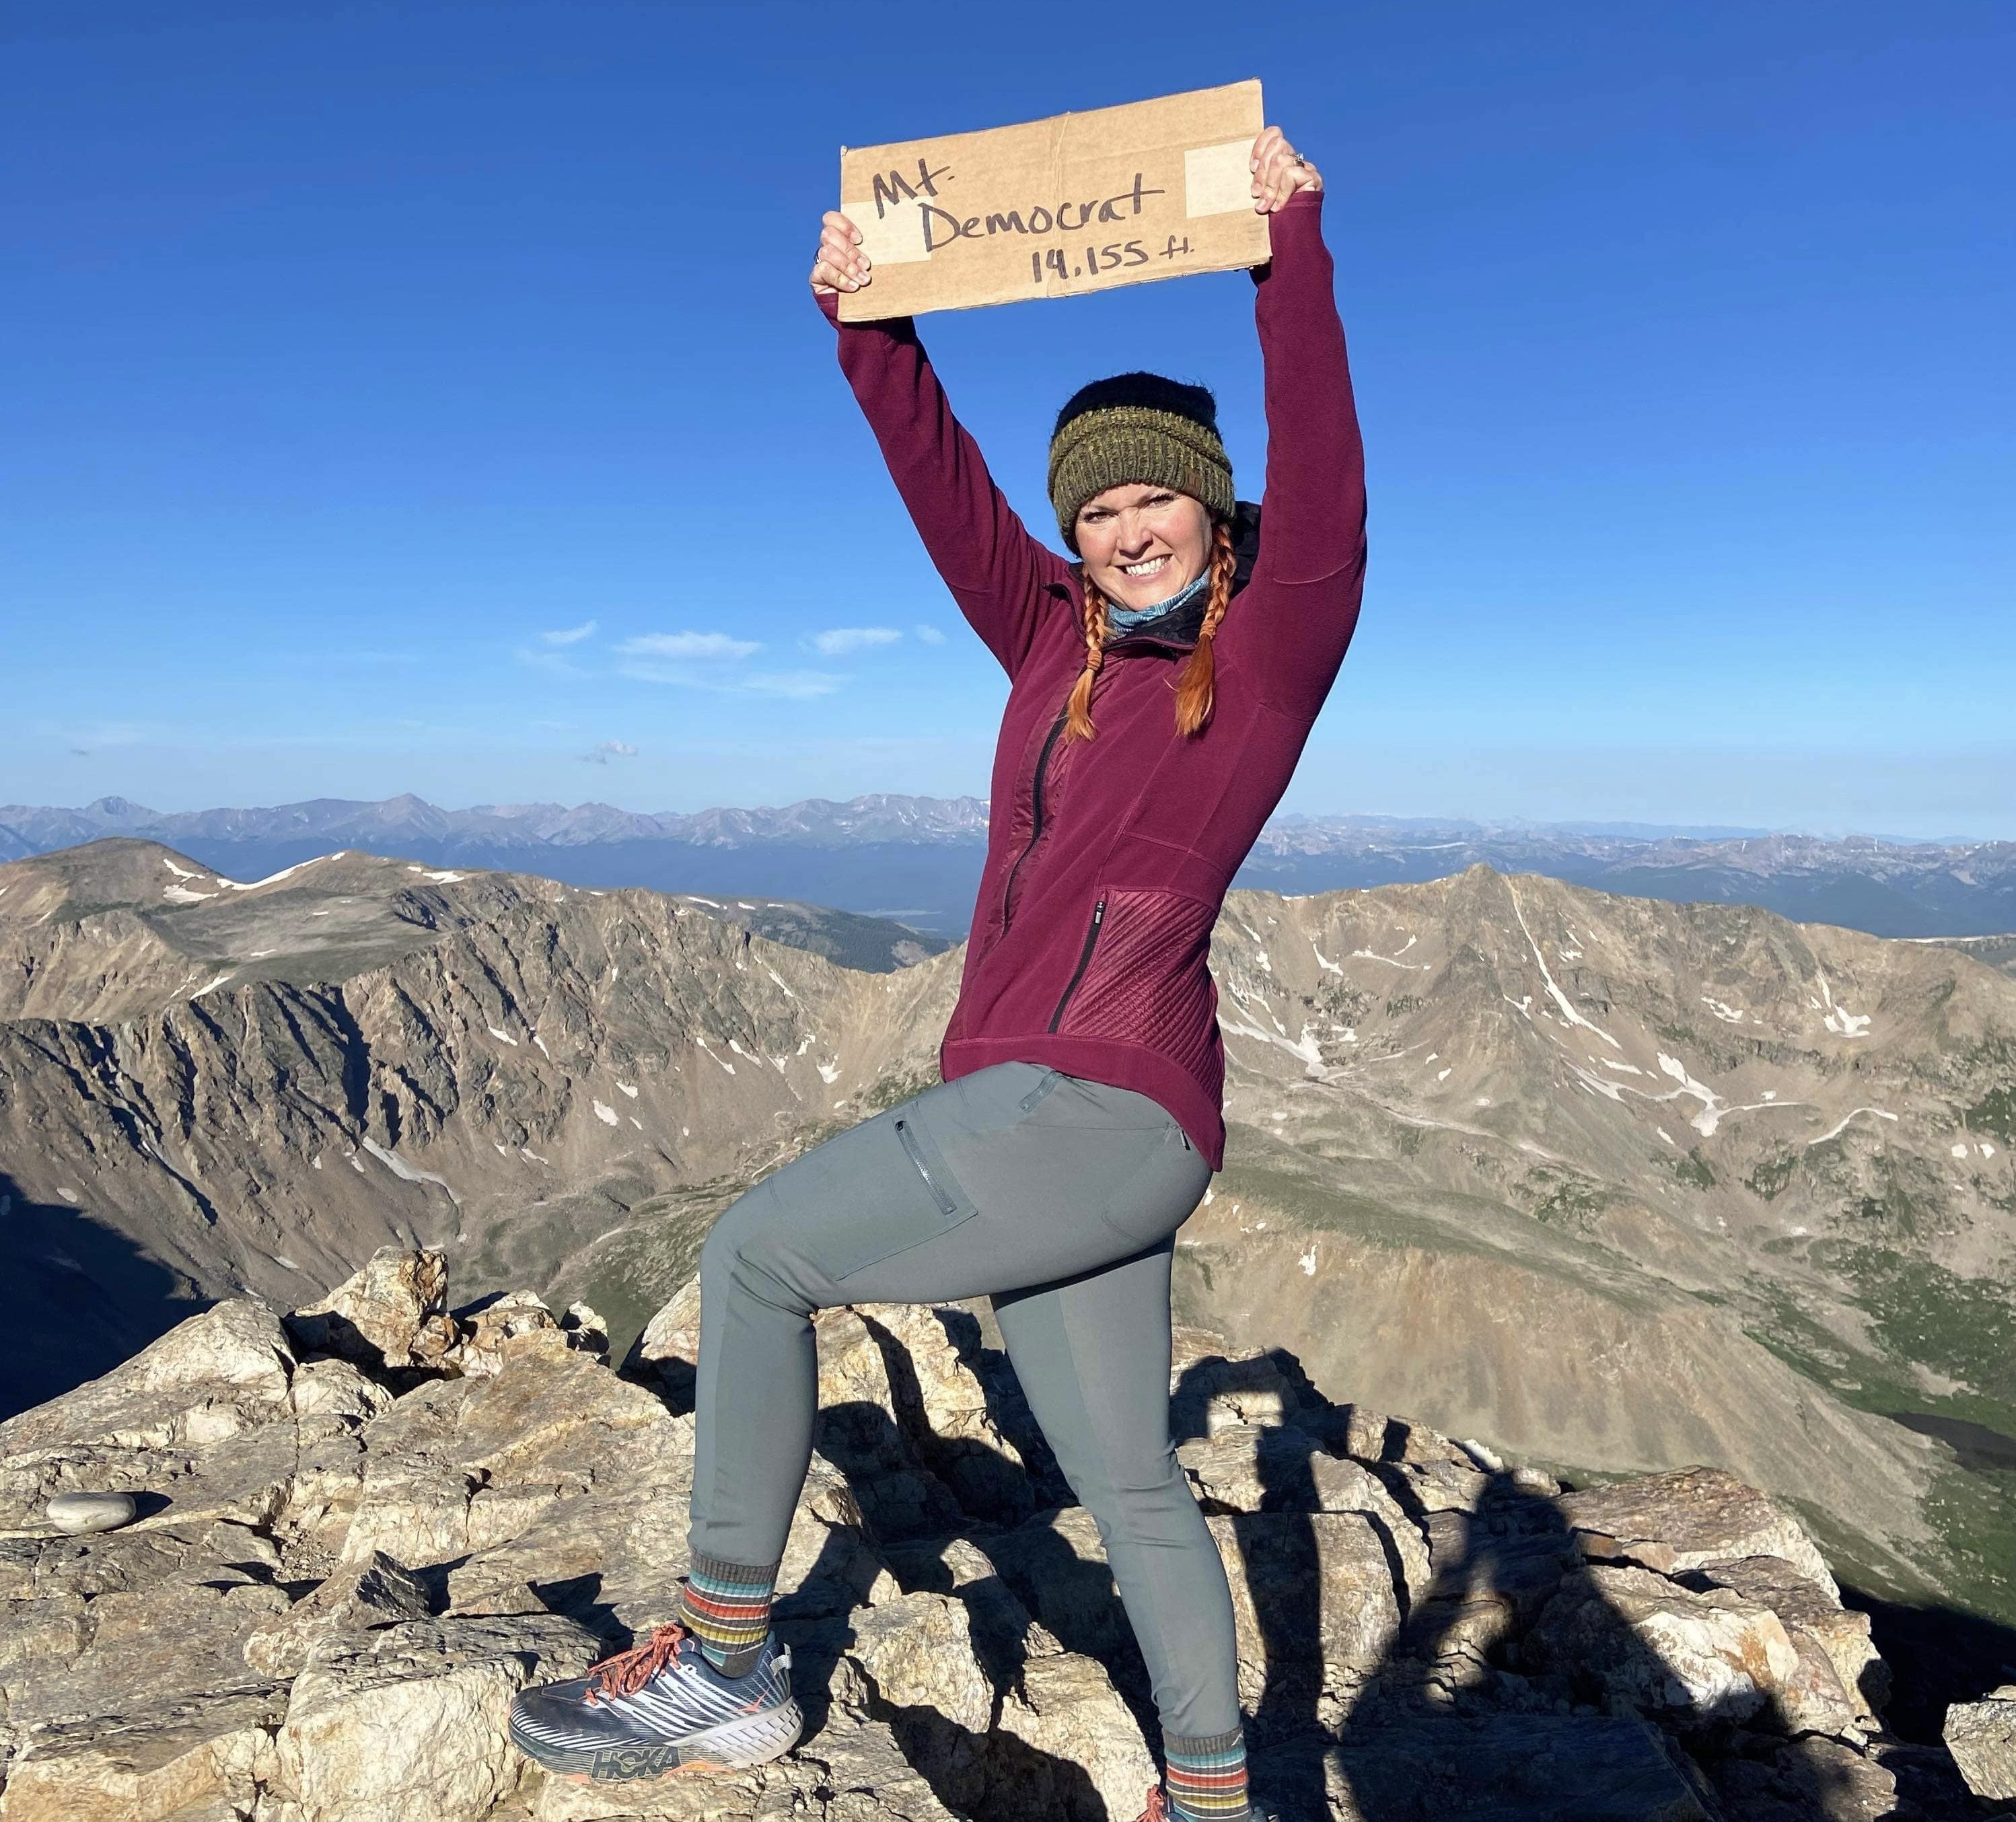
Once you get up to 10,000 feet (this is the trailhead elevation for Mt. Elbert, Colorado’s highest 14er), there is only 14% oxygen in the air (30% less than you were used to at home). Imagine the beginning of your hike being 30% more difficult from a cardiovascular perspective than any hike at home, and you haven’t even started the ascent yet!
Continuing our journey to high altitude, the peak of any 14er will be at least 14,000 feet, where the oxygen is only 12%. Doing the math again, that is 40% less oxygen than at sea level. Looking at it another way, you could say that you are now hiking with 60% of the oxygen you are used to. Your heart and lungs are working in overdrive. It is no joke up there, and we’re not even talking about Everest here!
You could geek out more on this topic if you’d like, so check out the Center for Wilderness Safety for more information on high altitude adventures and safety. For our purposes here, I just wanted to illustrate with some math why it’s important to train your body appropriately before attempting a 14er or high altitude hike. While nothing is as effective as training at high altitude, there are plenty of things we can do at low elevations to simulate the effects and increase the strength and efficiency of our heart, lungs, and legs to better adapt to the adventure ahead.
Set Realistic Training Goals and Expectations
First things first, if this is your first 14er, it’s important to have realistic expectations about the day of your hike, and the kind of training you need to do to have a successful summit, and hopefully an enjoyable experience.
I’m going to be honest here: I was completely unprepared for my first 14er, Quandary Peak, and kind of hated it. My lack of proper training was likely the main reason I was miserable. I wasn’t horribly out of shape; I did a little strength training and metabolic conditioning somewhat regularly, and had done a few local hikes here in Kansas City. My workouts were good enough to maintain my health at sea level, but it wasn’t nearly enough to prepare my body for high altitude. My training lacked specificity and cardiovascular endurance, in particular.
Thankfully, my mental toughness (some call it stubbornness or competitiveness), was enough to drag me to a successful first summit, even if 4 steps at a time for the last several hundred feet. Once I recovered and reflected on the experience, I knew I wanted to do it again, but with a proper 14er training plan. I know that coming from sea level I will never be hiking fast or be the first one to the summit, but I can now train to be fit enough to safely enjoy the experience.
For your first 14er, keep the following goals and expectations in mind as you embark on a 14er training plan, especially on days that it’s difficult and you are low on motivation.
Get Comfortable Being Uncomfortable
Fourteeners may be beautiful and epic, but even the easiest ones are difficult. Even if you train hard for a 14er, you will likely still encounter some discomfort the day of your summit attempt, whether your lungs are burning, the wind is whipping at your face, or your toes hurt from the impact of thousands of steps down on the descent. Training for a 14er or any challenging physical endeavor helps your body and mind get used to uncomfortable situations. Plus, the more uncomfortable you can make yourself during your training regimen, the stronger you will get physically and mentally, so the more comfortable your actual 14er hike will be!
Hike Fast Enough to Avoid Afternoon Storms
While you shouldn’t expect your first 14er to break any speed records, it is important to keep a pace that will allow you to get to the summit and back to the treeline before those pesky and persistent afternoon storms show up. It’s not just about getting caught in the rain and finding yourself cold and wet. Lightning is a serious risk in those high altitude storms where the clouds aren’t much higher than the mountain tops and you are standing up there like a human lightning rod. Not to mention the rocks and dirt will get slippery making for a slower descent that is more likely to cause injury. Your training goal should be to maintain a steady pace in which you can enjoy breaks for snacks and photos, spend some time relaxing at the summit (perhaps with a summit beer), and get back down to the treeline before noon. Obviously the length of your hike and when you start will impact this, but building your cardiovascular endurance is the other key factor.
Summit a 14er Safely
In addition to your speed to summit and back within the weather window, your goal for a 14er training plan should help you build strength, balance and stamina so you can have confidence that your body will function properly on the mountainside. You want to be able to acclimate and respond to the lower oxygen levels efficiently so you don’t find yourself dizzy or dealing with digestive issues anywhere on the trail. You want your steps to be strong and steady both uphill and down so you don’t fall and sprain or break something, or injure another hiker as you tumble. Part of being a safe and responsible hiker is knowing your abilities and limits. By training for high altitude hikes ahead of time, you’ll have better awareness of what it feels like when things are difficult, versus when something is actually physically wrong and you should turn around or call for help to maintain safety for yourself and other hikers.

14er Training Plan at Sea Level
Now it’s time to get into the nitty gritty details of a solid 14er training plan. The way that I’m presenting the training plan below allows flexibility and scalability depending on your current fitness level and access to equipment or places to train. However, as with any physical activity, consult your doctor before attempting a new workout plan. Your health and fitness is your responsibility so please do so safely.
How Long Should You Train for a 14er?
My goal is to provide you with a framework that you can use to customize an effective 14er training plan to get you ready for the high altitude in the mountains in as little as 8 weeks. However, this is highly dependent on your starting fitness level. If you want to go from “couch to 14er,” I would recommend allowing 12 – 16 weeks or longer to give you enough time to build your strength and endurance in a safe and enjoyable manner.
If you’re already very physically fit, most likely there are certain gaps in your current exercise routine that a 14er will reveal. You may only need to make some minor tweaks to your current routine, but allow yourself several weeks to realize the gains from those adjustments. While you might physically be able to reach the summit without specific training, it will be much more enjoyable if you’re properly prepared.
Cardio Training
It might go without saying, but since the lower oxygen levels at high altitude are going to make your heart work harder, you need to make your heart work harder to prepare. Your heart is a muscle, so you can make it stronger and more efficient with different types of cardiovascular training.
Your cardiovascular training could include: walking on an incline, running, and climbing stairs. While ellipticals, exercise bikes and rowers do provide cardiovascular exercise, they are not my favorite for 14er training because they don’t provide the same range of motion and foot training the other cardio activities provide. While you might be expecting you need to train your quads and buns for lots of steps uphill, you can’t ignore your feet, as they are going to bear the weight of every single step, uphill and down. So you need gotta get your steps in during training!
You should aim for at least three cardio training sessions per week, increasing the average duration each week as you get stronger. One of your sessions each week really needs to be outside on rugged ground if you can. Your feet and tendons and ligaments are used in balancing on uneven terrain, so if you can train them ahead of time, in the shoes or boots you plan to hike in, your body will thank you!
It’s also important to vary your cardio between high intensity, shorter sessions, and moderate intensity, longer sessions. I recommend the three cardio sessions include:
- one long walk or hike outside (1 hour or more)
- one shorter high intensity interval training session (20 minutes or less)
- one moderate run or stairclimber workout (20 – 60 minutes).
Whatever fitness level you start at, plan on increasing the duration and intensity of each of those workouts every week or two throughout your 14er training program. Since most beginner 14ers will be 6 – 8 miles, it is important that your weekly long walk/hike workout come close to that distance by the last week of your training.
Ideas for your cardio workouts:
- Local hiking trails – the hillier the better
- High School tracks
- High School stadium stairs
- Hill climbs and descents: incorporate diagonal walking in addition to straight up and down; add in some uphill sprints for funsies

- Stair Climber machine
- Step ups on a stool or bench: incorporate side steps too
- Running: if new to it, try intervals alternating with walking
- Treadmill with incline
Strength Training
In addition to cardiovascular workouts, training for a 14er should also include strength training. Strengthening your muscles, particularly your legs and core, can help improve your endurance and decrease your fatigue as you ascend. Additionally, building muscle can help prevent injuries by improving your balance and stability on uneven terrain. By incorporating exercises like squats, lunges (seriously, so many lunges), and deadlifts into your fitness routine, you can help prepare your muscles for the physical demands of climbing a 14er.
I have also found it helpful to train my back and shoulders, since I’m typically carrying a backpack with 2 – 3 liters of water, snacks, and layers of clothing for various weather conditions. While my backpack wouldn’t normally be considered heavy, when wearing it for hours while hiking a 14er, I will notice my back and shoulder muscles start to ache. While it’s helpful to train with a weighted backpack to help condition your posture to this feeling, incorporating some specific strength training to those muscle groups will help too!
You should plan to strength train 2 – 3 times per week at a minimum. I recommend around three exercises per muscle group, for three to four sets. Choose from the exercises listed below and vary them up so you work your muscles all different ways and don’t get bored. Your repetitions will depend on how heavy you are lifting (which also depends on your experience). Experienced lifters should continue your strength training program, but just be sure to include the below recommended movements into your routine if you don’t already. Novice lifters should start light, with a higher number of repetitions. Choose weights you can do 12 – 15 reps in a row; you should feel fatigued the last few reps of your set to know if it’s heavy enough. If you don’t feel it, increase the weight. I also recommend if you haven’t done these movements before to work with a trainer to help you learn proper form. Not only could you injure yourself if you don’t lift with proper form, you won’t strengthen the proper muscles and stabilizers needed for your hike!
Recommended Strength Training Exercises for Lower Body:
- Lunges: stationary lunges, walking lunges, forward lunges, step back lunges, side lunges. When training for a 14er, lunges are your new best friend! Learn to love them.
- Bulgarian split squats: these are just fancy, more difficult lunges, basically.
- Weighted Step Ups: Wear a weighted vest, backpack, or hold dumbbells while stepping up and down on a bench or box. This one doubles as cardio after several reps!
- Squats: back squats, front squats, heel-elevated squats
- Deadlifts: traditional, sumo, Romanian, single-leg
- Wall sits: like sitting in a chair, but there is no chair, with back against the wall
- Calf Raises on Stairs: don’t forget about your calves! Steep inclines can be a calf burner.
Recommended Strength Training Exercises for Upper Body:
- Bench press or push-ups
- Pull ups/Chin ups
- Overhead/Shoulder presses
- Shoulder raises (front and side/lateral)
- Upright row
- Reverse fly
- Bent over row
- Face pulls
There are plenty more exercises you could include in your 14er training program if you want to, but the specific movements listed above are chosen to target the muscle groups and movements you’ll need most in your hike. Make sure you are focusing most on the movements above, but feel free to add other exercises for accessory work.
Example 14er Training Plan
The above 14er training for sea level dwellers is a collection of ideas and guidelines I’ve learned over the years so you can put something together that works for your experience level and available equipment and workout facilities. However, I think it would be helpful to share what a week or two might look like on paper. So below I’ll share a typical week for my 14er training, both at the beginning of the training cycle and at the end. Additionally, I recommend a deload week just prior to your hike. This would contain recovery workouts with light weights and light cardio, just to keep moving. You don’t want to be sore or tired going into your big hike!
14er Training Schedule: Week 1
Sunday: 3 mile hike
Monday: Strength
5 sets
3 Heavy deadlifts
10-12 Calf raises on stairs, 20# kettlebell
3 sets
12 single leg deadlifts (each leg), 30# kettlebell
20 sit ups
1 minute wall sit
30 bicycles
15 sumo deadlifts, 53# kettlebell
Tuesday: Cardio: Jog 2 miles, walk 1 mile to cooldown
Wednesday: Strength + Cardio
6 sets
3 heavy bench press
1:30 easy cycling on Airdyne
3 sets
15 bent over rows, 35# barbell
15 V-ups
12 push ups
16 alternating front/side raises, 10# dumbbells
Finisher: 20 minute treadmill level 10 incline walk with 12# weighted vest
Thursday: Strength
4 sets
3 heavy back squats
3 sets
12 hip thrusts, 80# barbell
12 knees to elbows
10 stationary lunges (each leg), 10# dumbbells
Friday: Cardio
20 minutes: Run 2 minutes, walk 30 seconds
Saturday: Recovery: easy 2 mile walk
14er Training Schedule: Week 8
Sunday: 7 mile hike
Monday: Strength
3 sets
5 Heavy deadlifts
15 Calf raises on stairs, 20# kettlebell
3 sets
8 – 10 bulgarian split squats (each leg) 20# dumbbells
1 minute plank
15 stiff leg deadlifts, 53# kettlebell
30 second Airdyne sprint
Tuesday: Cardio: run 3 miles (run 3 min, walk 1 min), walk 1 mile to cooldown
Wednesday: Strength
5 sets
5 chin ups (as heavy as possible/least assistance)
1:30 easy Airdyne
3 sets
12 bent over rows, 50# barbell
15 hollow rocks
12 overhead press, 15# dumbbells
15 banded chest flies, 60# bands
Thursday: Cardio
40 minutes wearing 20# weighted vest or backpack, alternating between
5 min treadmill level 10 incline walk
5 min step ups on bench
Friday: Strength
5 sets
5 heavy back squats
3 sets
15 kettlebell swings, 53#
20 opposite hand to opposite foot sit ups
15 jump lunges
Saturday: Recovery walk
Additional 14er Training Tips
There are some other ways you can help your 14er preparation along in addition to the types of workouts discussed in this post.
Fuel your training
If you are going to take on a challenging goal like training for a 14er at sea level, be sure you are fueling your body appropriately. Balanced nutrition, meaning protein, fat and carbohydrates from whole foods are best. You might need to supplement with protein powders or bars as an additional energy source for your workouts. Additionally, drink plenty of water. If you are sweating a lot, consider electrolyte powders for your water during and post-workout. At a minimum, be sure you are eating enough, and don’t eat crap.
Add weight to your hikes
If you are already physically fit and active, consider adding weight to your outdoor hikes by way of weighted vest or backpack. This is a great way to increase the difficulty of lowland hikes to help your heart and lungs work harder as they would at altitude. Start light and build up each time you hike.
Train with Your Trekking Poles
Many people, including myself, find trekking poles to be incredibly helpful during high altitude hiking. They help to redistribute the work of every step away from solely your legs, allowing your arms to help do some of the work. Using trekking poles will decrease leg fatigue and on the ascent and reduce foot and knee impact on the descent. But, they do take a little bit of getting used to, so include them in your training hikes to learn how to use them so you aren’t trying to get coordinated on the mountainside.

Don’t forget foot care
Your feet will take a beating during 14er training, and that’s important because they are one of the main parts of your body that require conditioning. So just as you would stretch sore muscles and use other mobility techniques like foam rollers on your legs and back, be sure you are caring for your feet. Epsom salt foot baths, lotions for callouses, foot massages, and of course proper footwear.

Train your mind
One of the biggest parts of your 14er training is to develop discipline and strength of mind. While attempting and summiting a 14er is an amazing experience, it’s just as mentally tough as it is physically tough. You may encounter fear, doubts or overwhelm along the way and be tempted to turn around. If you’ve been training physically, you’ll have developed some of that mental strength to keep pushing, even when you don’t want to. Plus, when you add up the hours and hours of training you’ve already invested into this, you’ll be more likely to push through those doubtful moments. If you’d like more work in this area, consider adding a meditation practice to your daily routines. It can help you learn to manage your thoughts and calm your nervous system, both of which could be very handy on your journey to a summit.
Take time to acclimate
Last, you can be as physically prepared as humanly possible in the weeks leading up to your summit attempt, but if you don’t take some time to adjust to the altitude, your hike could be over before it starts. Everyone is different, but spending a couple nights sleeping at altitude around 10,000 feet can help you adjust.

If you have time, try to take a few easy to moderate hikes at altitude in the days leading up to your 14er attempt. Try a couple miles at 10,000 feet and then a few miles up to 12,000 feet the next day. Continue to fuel your body with nutritious foods and plenty of water. Staying hydrated is key, so avoid or minimize alcohol before your hike.
Are You Ready to Take on a 14er?
Whether you’re finding your way off the couch or have been doing CrossFit for several years, I hope that incorporating these 14er training tips into your workout routine can help you prepare for your next adventure. Keep in mind that everyone’s body is different, so it’s important to listen to your own body’s needs and adjust accordingly. With dedication and determination, you can train for any 14er as a flatlander, even while living here at sea level.
6 responses to “High Altitude Hiking: How to Train for 14ers at Sea Level”
Thank you for this nice composite summary of what it takes to get started with 14ers. I’ve been going out for years from Illinois and I occasionally take someone new with me. This information here will be something I share with others going forward…Thank you!
Hi Chance! Thanks for reading! I have just provided the sample week 1 and week 8 workouts that I do for reference, as well as ideas of a framework to mix and match to create your own. If you’d like a full plan, I recommend working with a trainer to design one around your equipment and fitness level.
Thank you for the valuable information. What do you recommend for workouts weeks 2-7. I am only seeing week 1 & week 8
Krys- you are welcome! Good luck on your training. Do you know which 14er you plan to hike?
Thank you so much for this very informative article! I live in Iowa and am eager to do my first 14er in June. I’m hoping I have enough time to properly train.
Thank you!
Krys
Hi Lori,
Thank you for taking the time to write this plan. It is exactly what I need. I’m going to conquer my first 14er at the age of 61 sometime in July of ‘24. Thank you for sharing your knowledge.
Kim M.